5.1. Method A: Manually Create a Calibration Table
You can manually create a calibration table from an empty table. Refer to the procedure that follows.
How to manually create a calibration table
- Open Automation1 Studio.
- In the Configure workspace, find the Controller category. Then select the Calibration topic.
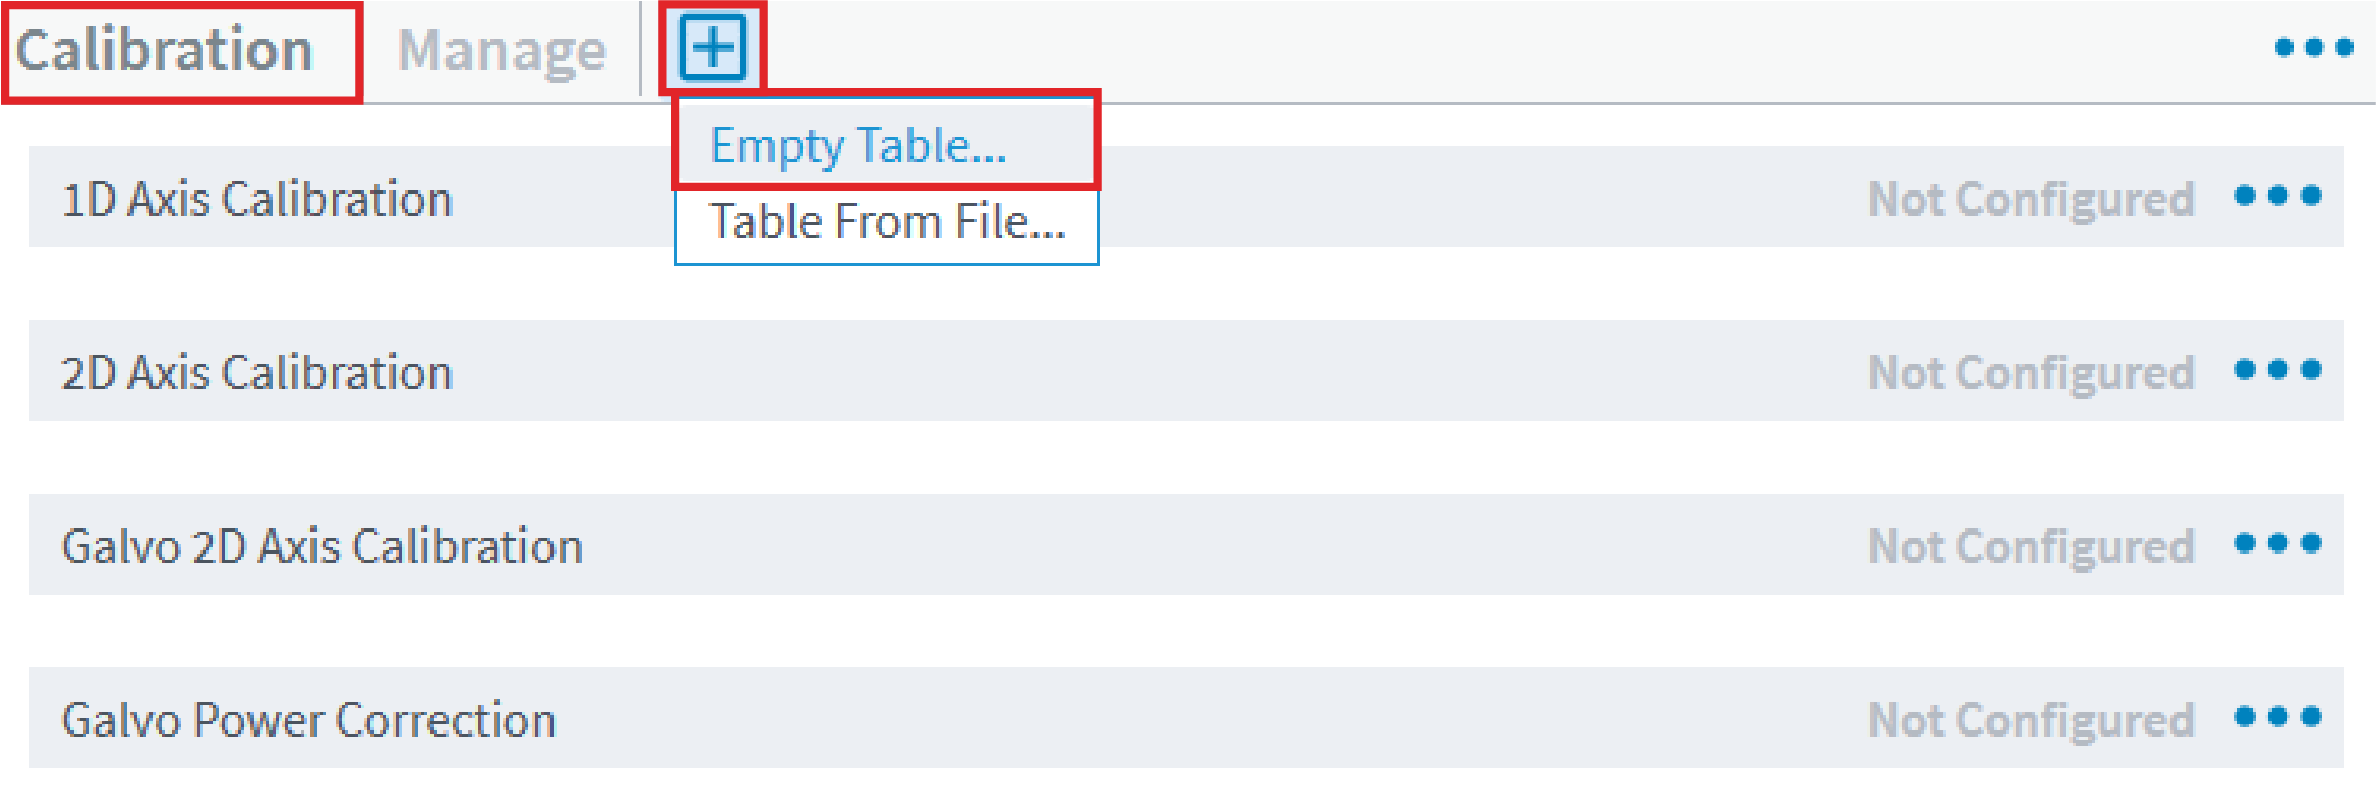
- On the Calibration toolbar, click the + button. Then select Empty Table….
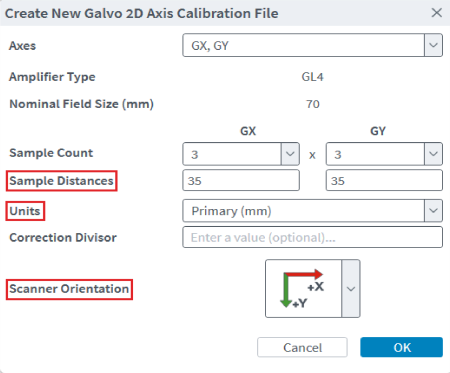
- In the Create New Galvo 2D Axis Calibration File dialog, do the steps that follow:
- Enter the Sample Distances. For example, you might enter 3 x 3.
- Specify the Units that the table will show for the correction values. For information about the different units you can use, refer to
- Select the Scanner Orientation. Make sure that you orient the table to your location.
- Click OK to commit your changes and close the dialog.
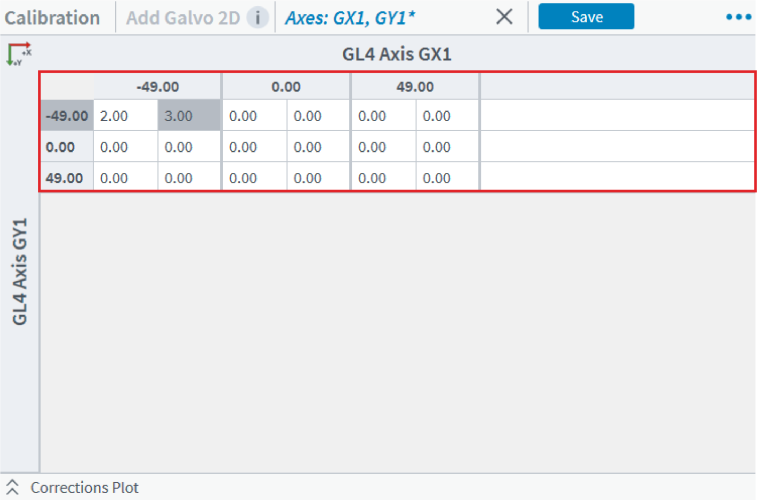
- Enter the calculated error or correction values into the grid cells. After you do this, make sure that you interpolate the table to a higher resolution before you save the data. For instructions on how to interpolate the table, refer to
- Save the calibration file to the controller. Then reset the controller.